Rocket and Moon Animation
About:
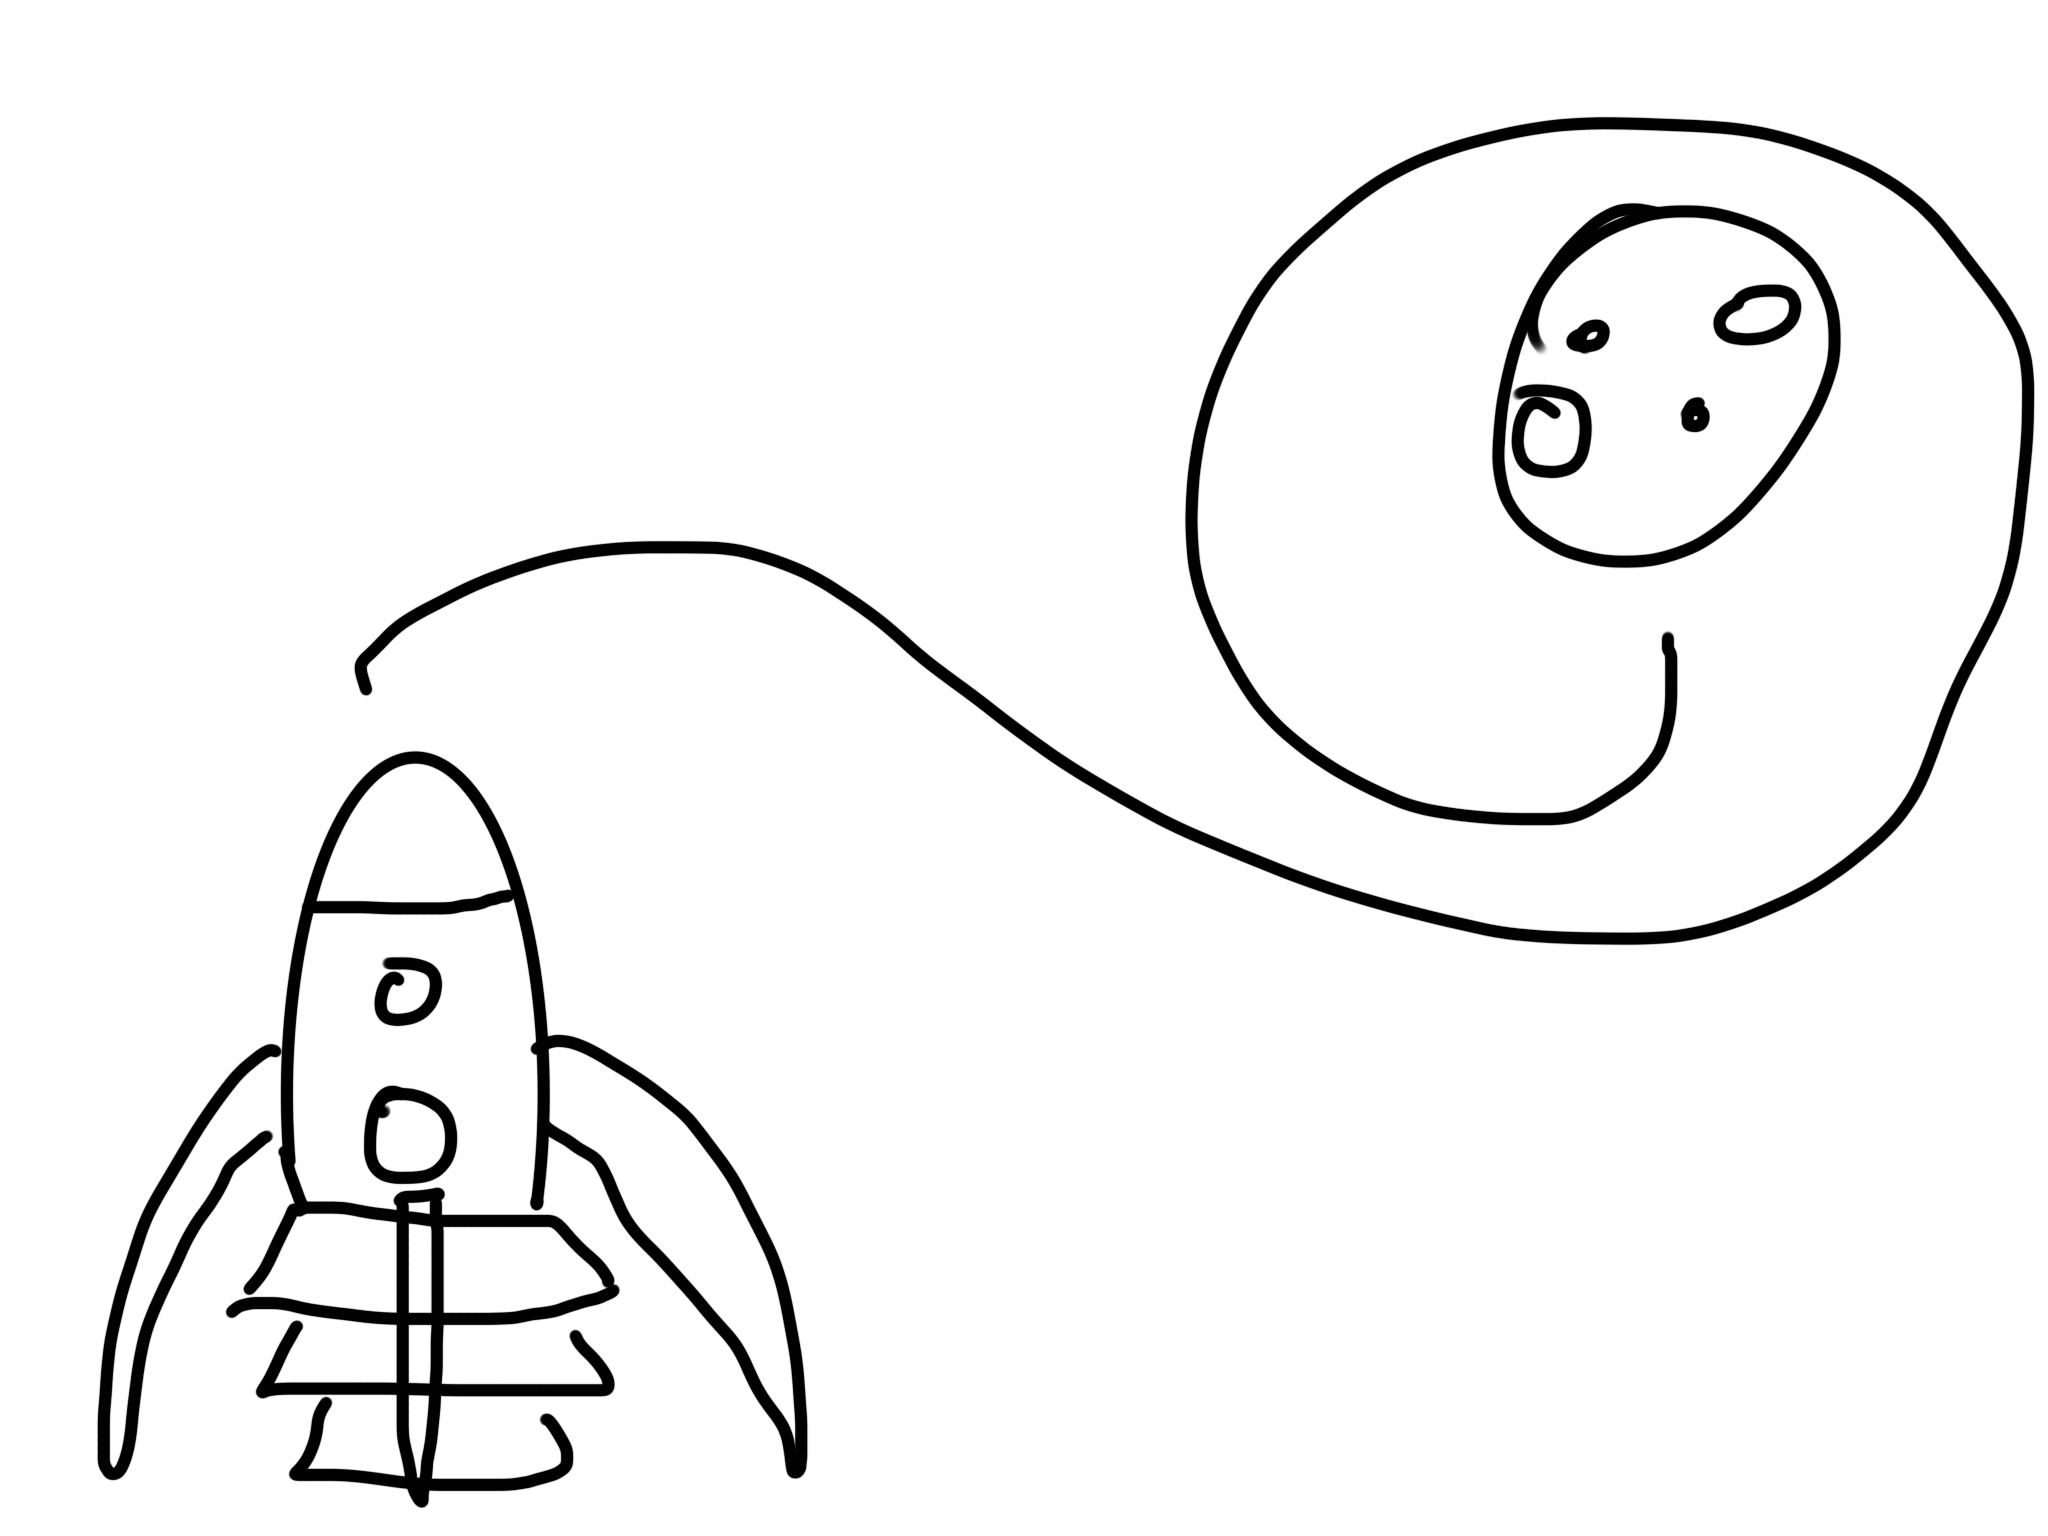
I created this 3D model of a rocket to learn how to animate in Autodesk Maya.
I created a quick sketch and started modeling the rocket, trying to use only my current knowledge of 3D modeling.
Afterward, I watched a lot of tutorials on how to animate.
In the end, I made an animation of a rocket taking off and landing on the moon, all using Autodesk Maya.
Created by:

Programs:
Made in Autodesk MayaAnimation:
Process:
I started by creating a 3D model of a rocket in Autodesk Maya. I tried to make a rocket based on my sketch with my current knowledge. This way, I tested my knowledge of 3D modeling. Only for the fins did I need some help. I used a tutorial on deforming to create the rounded shape of the fins. Using a Duplicate Special, I created 4 fins around the base of my rocket.
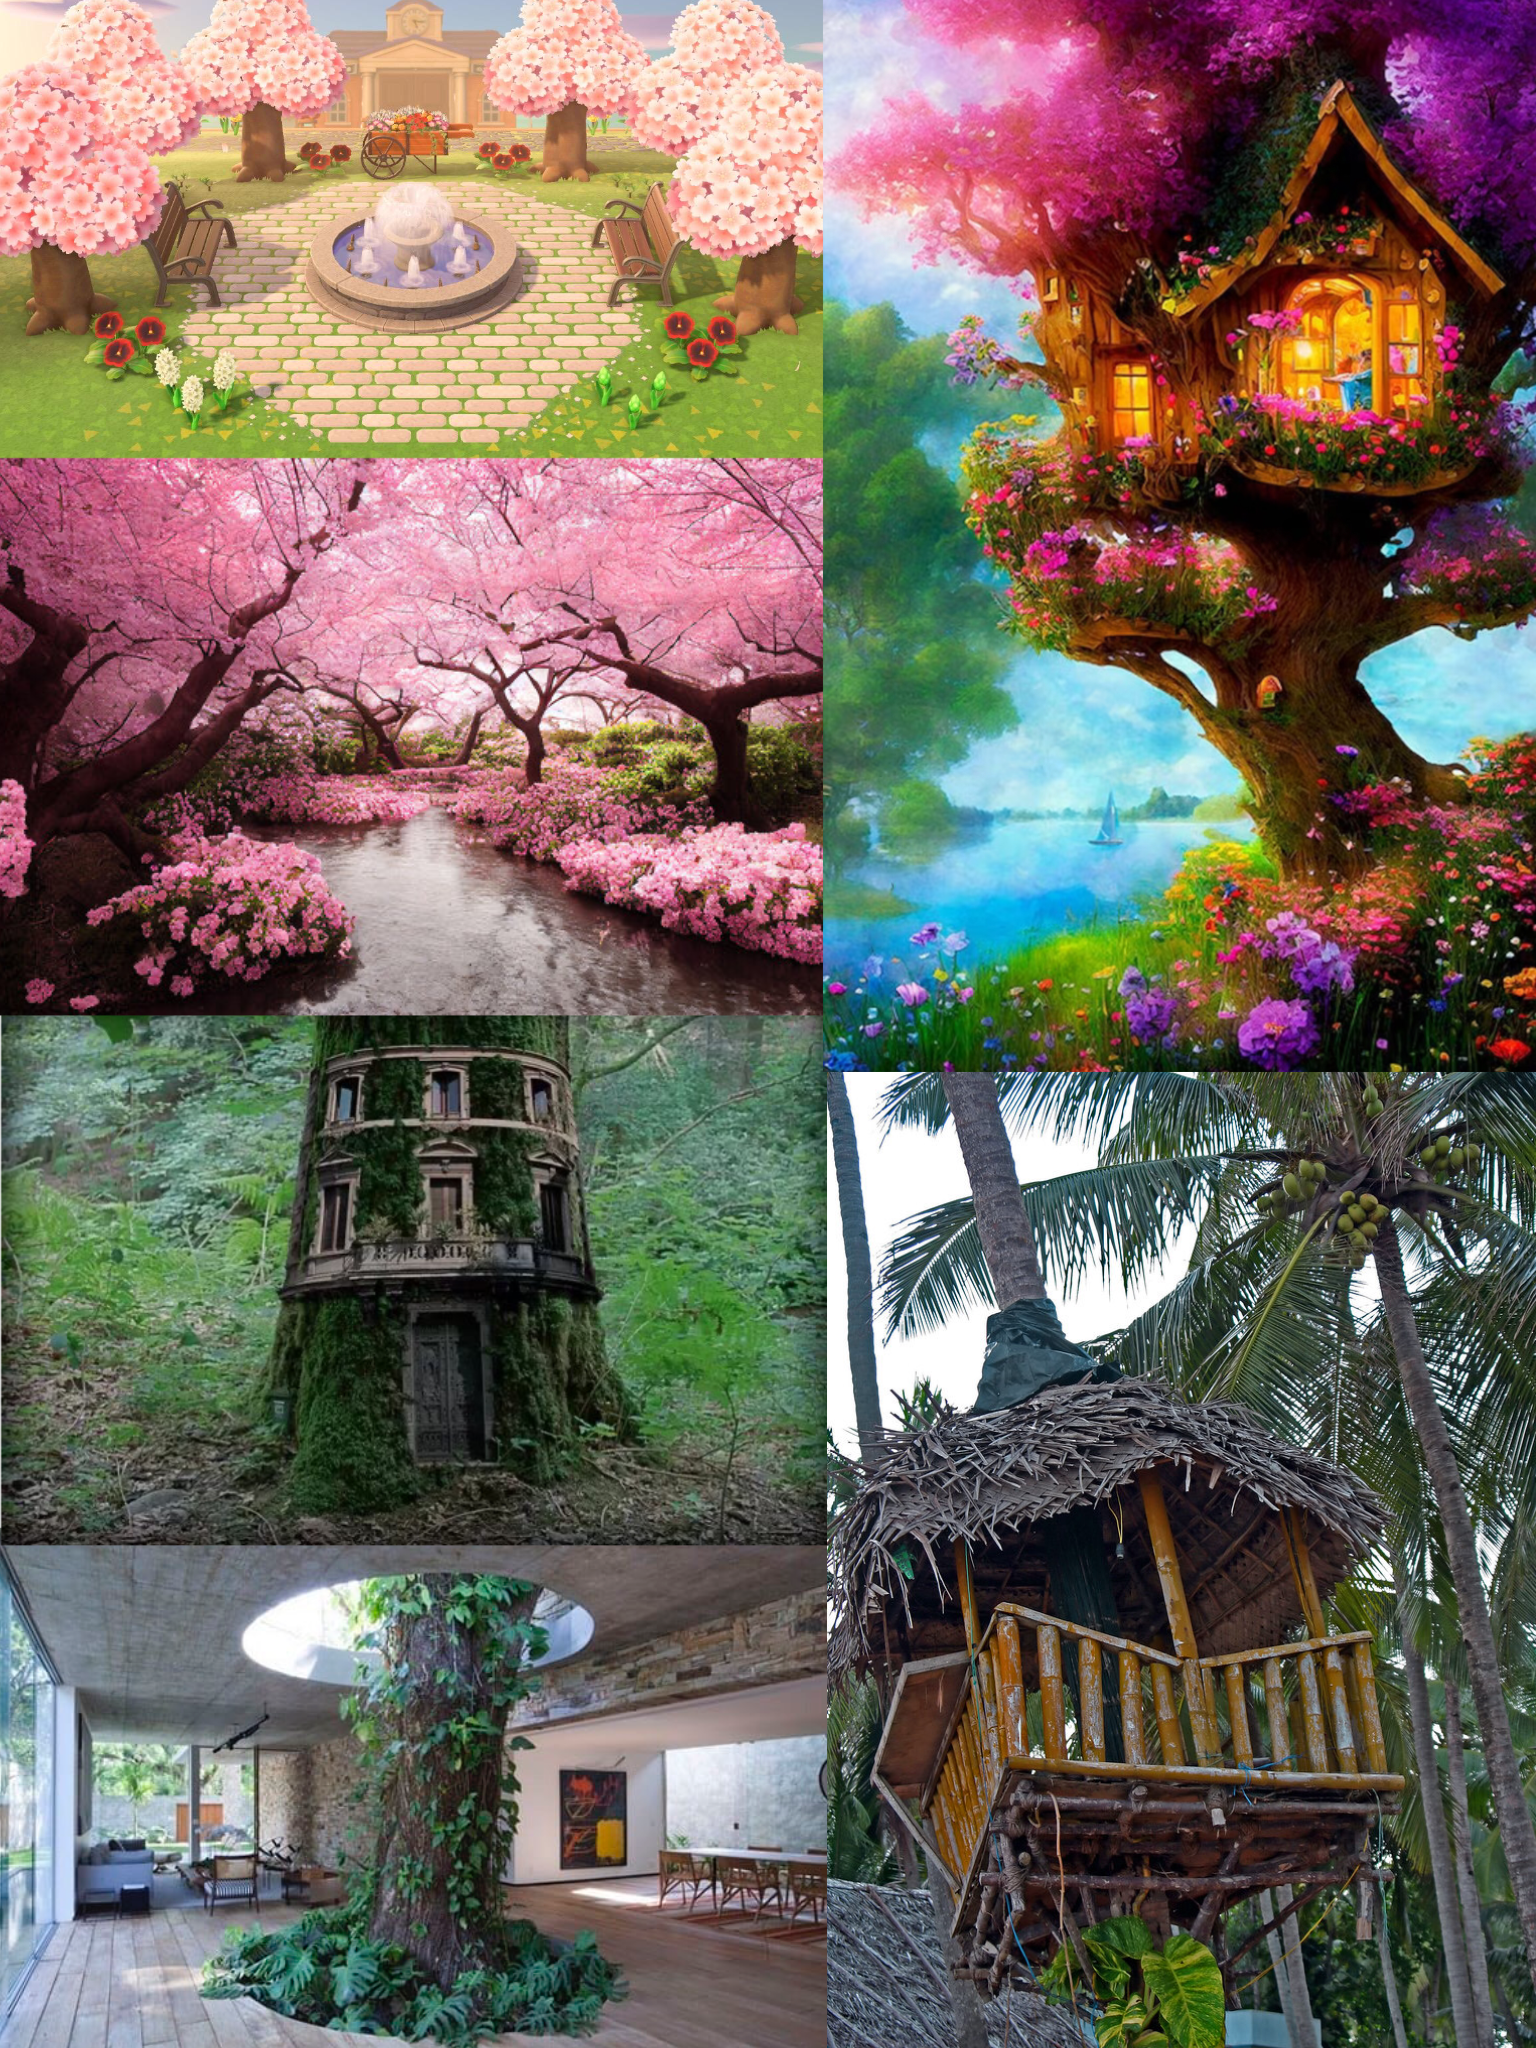
For the lighting, I started by setting up a Directional Light. Afterward, I created Skydome Lighting using Image-Based Lighting. I searched for an image that could be a beautiful background for my animation and that would be interesting as a lighting source. I chose an image of a sky filled with colors and played around with brightness and exposure.
When I was happy with the lighting settings, I started giving the rocket and moon colors and textures. I made some parts metallic and shiny and other parts dark and rough, retrospectively. Afterward, I created different Bump Maps using Noise to give the models some bumpiness. I wanted the imperfections to be visible but subtle. The lighting and imperfections are especially visible on the tip of the rocket.
Model:
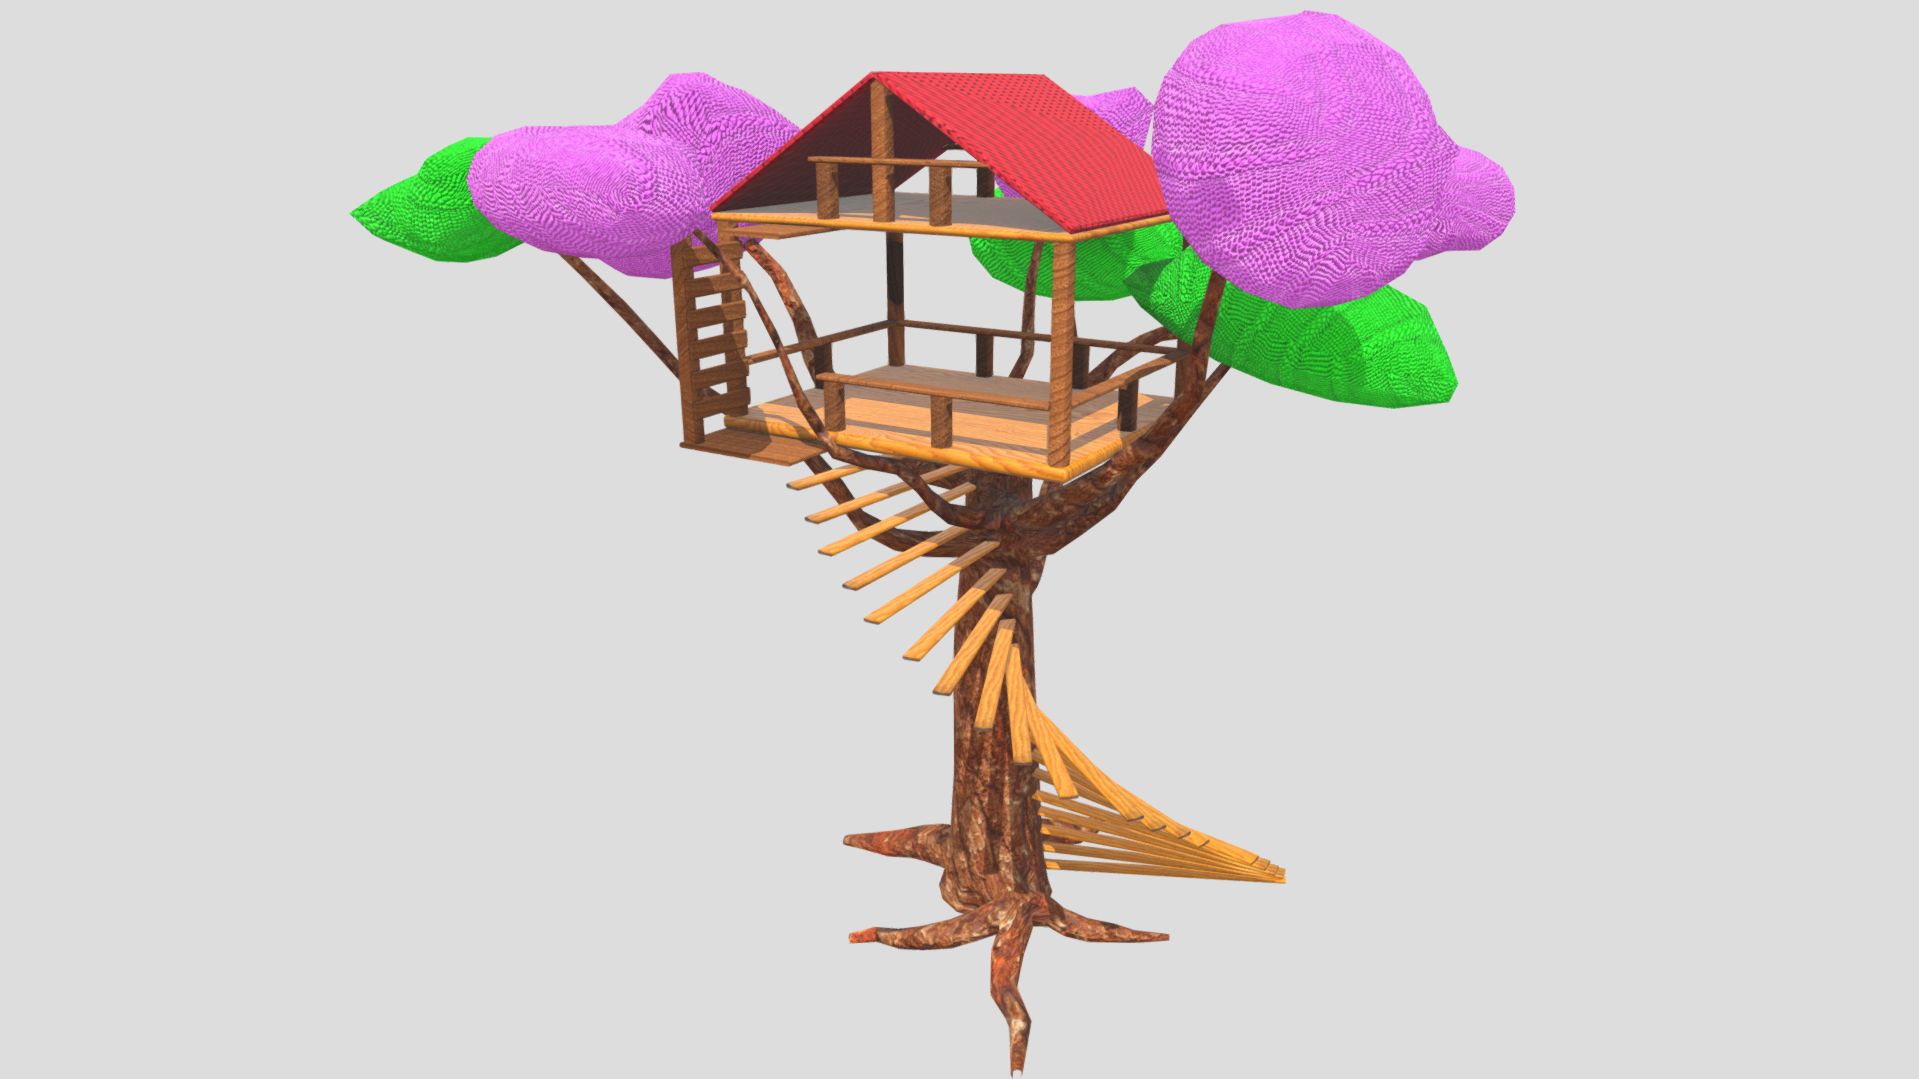
Here, you can see my 3D model. However, due to a bug in Autodesk Maya, the textures would not export with my model to Sketchfab. You can still see the model of my rocket and a bit of the lighting. Fortunately, this issue does not arise in the final animation.
After finishing the lighting and textures, I started working on my animation. I learned about Keyframes and how to use them to successfully animate a 3D object. I watched a lot of videos on timing and tempo and the animation principles by Frank Thomas and Ollie Johnston. I used Anticipation and Squash and Stretch at the same time just before the rocket takes off. Similar to a human bending its knees in anticipation of the jump, I used the Squash Deformer to make the rocket bend down before ‘jumping’ into space. I did this by moving the Squash Handle down and scaling it up, so it will squash from the base instead of the middle. When the rocket takes off, it stretches a bit to strengthen the idea of speed. This secondary motion is called Follow Through. These stretches are an Exaggeration of the rocket movement; a real rocket would, of course, not be able to deform and squash. By moving my keyframes on intervals of multiples of 3, the Timing felt a lot better than my initial version.
I created a moon to land on with some texture using color and a Bump Map. Using a Bezier Curve, I created a curved Arc for my rocket to follow. The rocket will now take off into space, circle around the moon, and land slowly on the surface of the moon. I slowed down the landing by adjusting the U Value at the end of the curve and setting a keyframe. I used a locator to have the rocket aim at it so it does not spin all over the place following the track. I created another Follow Through by squashing my rocket deformer a little bit when landing. I hid my curve, locator, and deformer, and the animation was finished.
Of course, I wanted a video containing the animation with different camera angles, so I watched some tutorials on using cameras and the Camera Sequencer in Maya. For each shot, I created a camera. The first camera looks at the rocket and turns upward when the rocket takes off using keyframes. The second camera is angled, looking at the rocket taking a turn to start circling the moon. The third camera watches the rocket circling from a distance, and the fourth looks like it is attached to the rocket. It watches the rocket up close as it circles closer to the moon. I let the camera follow the rocket by using a Parent Constraint. I used Camera Shake to add a greater sense of speed. The fifth camera is similar to camera three and watches the rocket land slowly on the moon from a distance. The final camera watches the rocket land up close again and uses the same camera shaking to dramatize the landing.
I assembled the shots by using the Camera Sequencer. After hiding the cameras and the ‘earth’, I took a Playblast of the completed sequence, and the complete movie was done! Afterwards, I exported my 3D model to Sketchfab, exported the playblast in a higher and a lower resolution (to enhance the loading time on this website), and created this webpage!
During this project, I further developed my skills in Autodesk Maya, 3D Modeling, and 3D Animation.
Link:
Check it out here or on my Sketchfab page!Tree House (With Textures)
About:
In the third term of my first year at Creative Media & Game Technologies, I created a 3D Model of a tree house with textures for the 3D Modeling course.A couple of my focuses were using a consistent style and complex shapes (using beveled edges for example), creating extra textures enhancing the bland 3D Model, and UV unwrapping and welding.
Created by:
Programs:
Made in Autodesk Mayaand Adobe Substance 3D Painter
Model:
Screenshots:
Process:
I focused on texture scaling that fits the treehouse and good color use. The UVs are welded where possible, and the UVs fit in the 0-1 space. The mesh is within the poly limit, with beveled edges and optimization.
 Unfortunately, due to time contraints I could not finish the interior.
For my first 3d model, I am quite content with the result.
During this project, I learned a lot about Autodesk Maya, and 3D Modeling.